Introduction
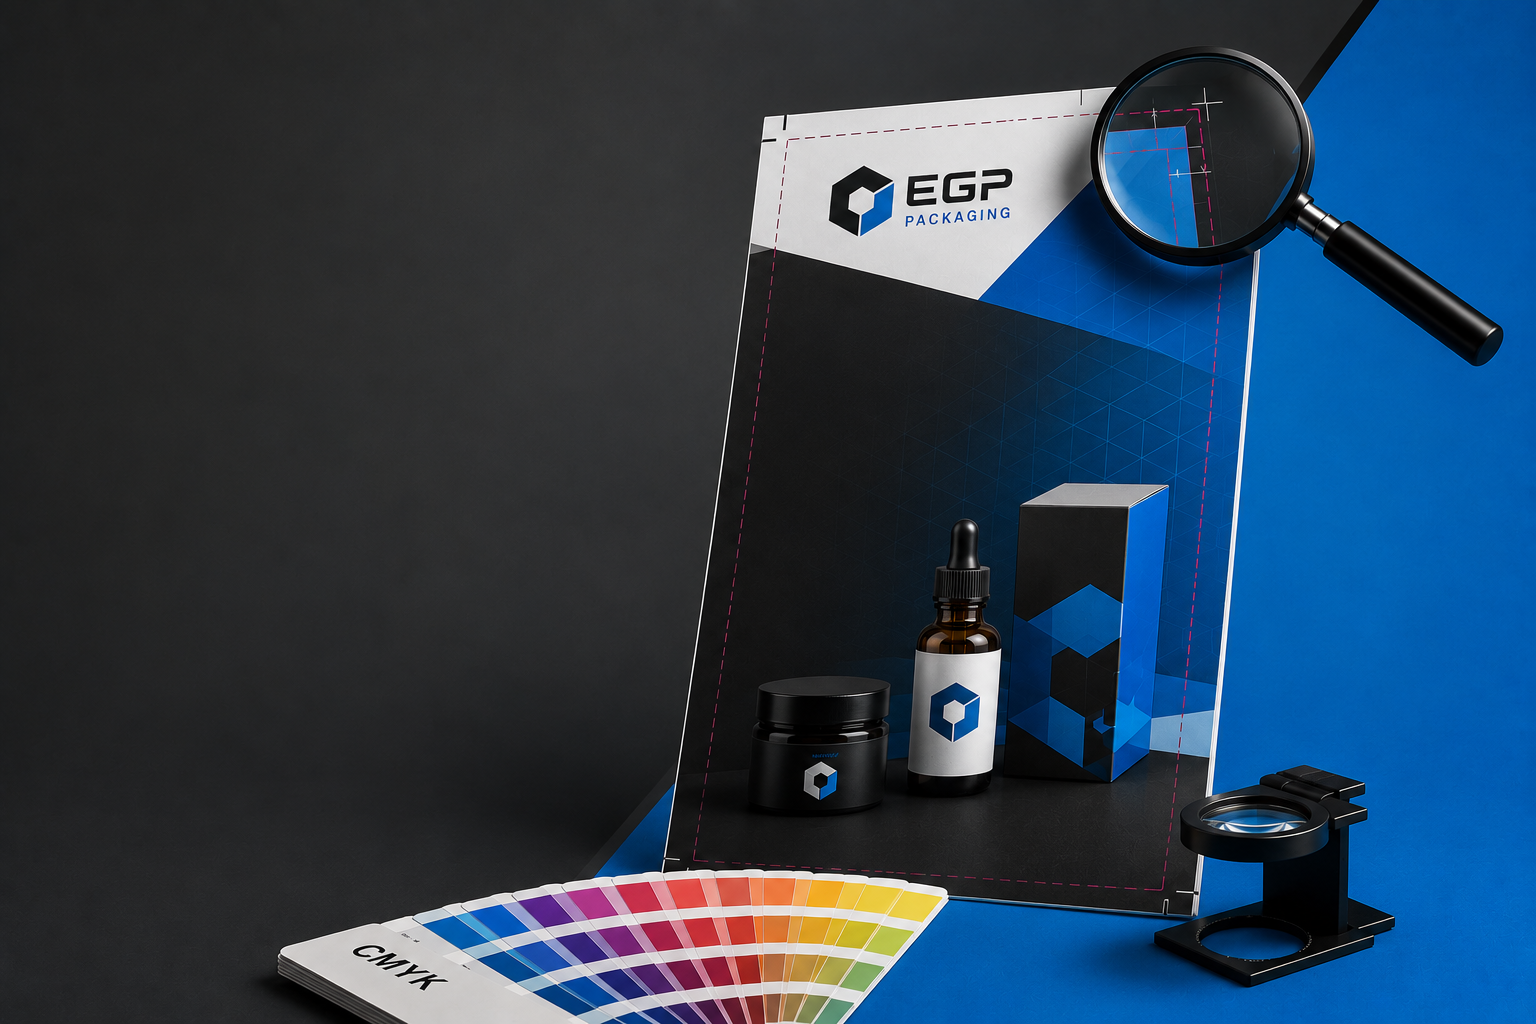
Whether you designed your own packaging or hired a freelancer, a file that looks perfect on your screen is not always ready for press. Print-ready simply means a file is built to the exact specifications a printer needs to reproduce it accurately, without surprise revisions. Here is what we check on every file before it goes to print.
1. Use CMYK, Not RGB
Screens display color using red, green, and blue light, while presses print using cyan, magenta, yellow, and black ink. A file built in RGB will shift color, sometimes significantly, once printed. Always build or convert your file to CMYK before submitting it.
2. Build In Bleed and Keep Text Inside the Safety Margin
Bleed is extra artwork extending past the trim line so that cutting slightly off-register does not leave a white edge. Safety margin is the reverse, keeping important text and logos a safe distance inside the trim line so nothing gets cut off. Most of our templates already include both, marked clearly.
3. Convert Fonts to Outlines or Embed Them
If a font is not installed on the printer’s system and is not embedded or converted to outlines, it can be substituted automatically, changing your layout without warning. Converting text to outlines (in Illustrator, Create Outlines) removes this risk entirely.
4. Use High-Resolution Images (300 DPI Minimum)
Images pulled from a website or a phone camera are usually built for screens at 72 DPI, which print blurry or pixelated. Source images at 300 DPI at final print size to keep photos and logos sharp.
5. Flatten Transparency and Check Overprint Settings
Layered transparency effects and incorrect overprint settings can render differently in print than they appear in your design software. Flattening transparency before export helps ensure what you see is what prints.
6. Save in the Right File Format
A print-ready, high-resolution PDF with crop marks is the standard we ask for. It is a universal format that preserves fonts, color, and layout information more reliably than JPGs, PNGs, or native design files.
7. Double-Check Your Dieline Layer
If you are working from one of our templates, make sure the dieline, fold lines, and legend layer are set to non-printing or removed before final export, and that your artwork lines up with the template exactly as provided.
When in Doubt, Let Us Design It
If any of this sounds like more than you want to manage, that is exactly what our design service is for. We can build your file from scratch so every one of these boxes is already checked.
Final Thoughts
None of these checks are complicated on their own, but missing even one can delay your order or change how your packaging looks once printed. When you submit artwork to us, our prepress team reviews it against this exact list before anything goes to press.
We hope that you enjoyed this article on print-ready file preparation for packaging and labels. If you did and are hungry for more then be sure to check our Getting Started articles as we try to provide new helpful content each week. Also be sure to follow us on Facebook and LinkedIn.