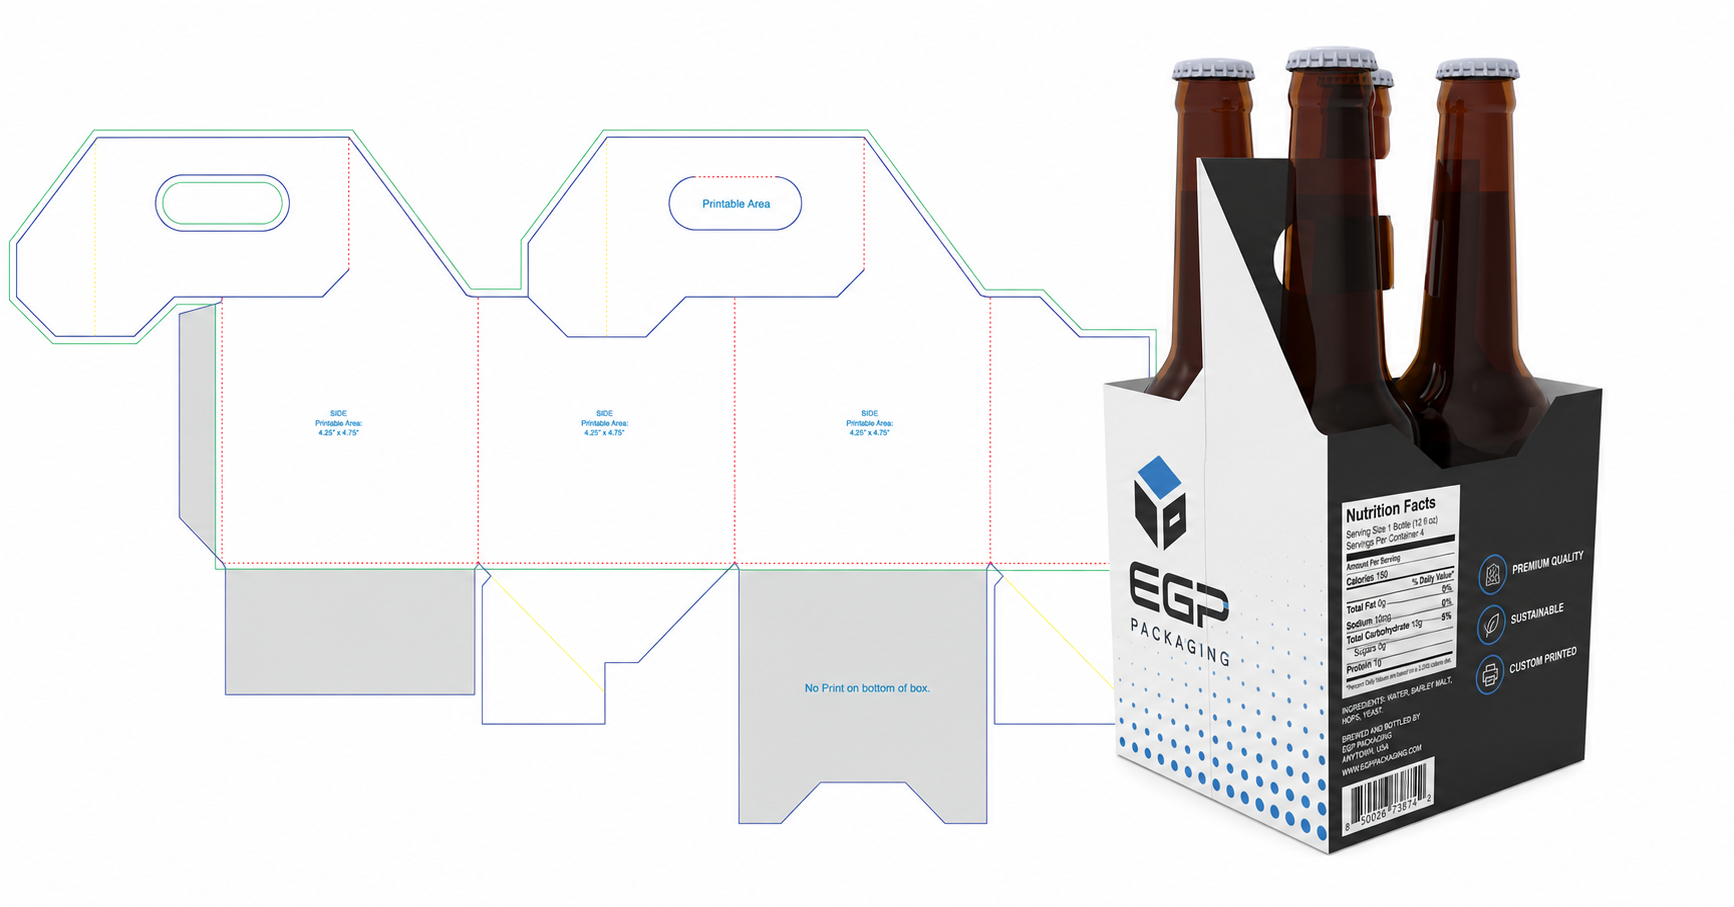
Follow these steps to prepare your custom 4 pack bottle carrier artwork using EGP Packaging’s printable template. A properly built file means faster turnaround and cleaner results off the press.
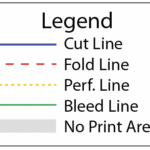
3) Each EGP Packaging template has a Legend which describes the different guide lines.
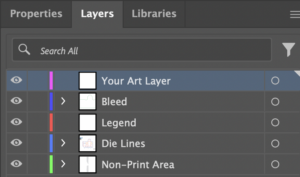
4) If using Illustrator to edit your pdf template you will also have layers designated for each part of the template.
5) Import your design elements and begin aligning with the template.
6) If any part of your design is meant to bleed outside of the cut-line make sure that it extends to the bleed line.
7) Once your design looks good save the pdf, return to the corresponding product page, select qty and any other specifications you would like and add to cart.
8) Open your shopping cart to view your order. If everything looks good hit the check out button, upload your artwork and follow the check out process.
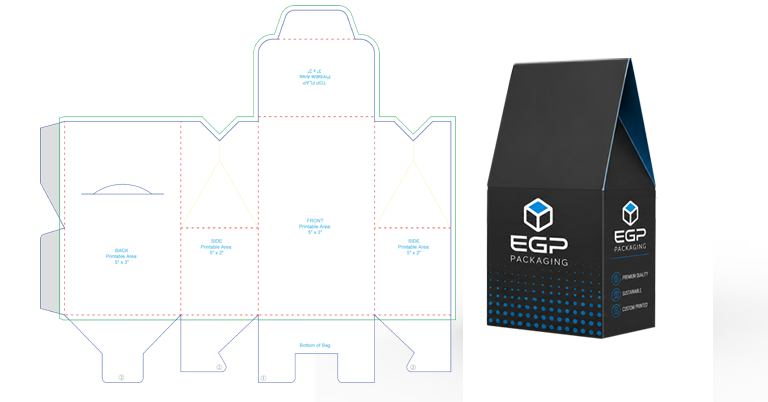
This guide walks you through setting up your 3x2x5 tent box artwork using EGP Packaging’s pre-made template. Getting your file dialed in before uploading saves time and keeps your order moving without delays.
1) Locate the 3x2x5 Tent Box product page and download the template. 2) Unzip and open the pdf file in your editing software. (we are using Adobe Illustrator)
3) Each EGP Packaging template has a Legend which describes the different guide lines.
4) If using Illustrator to edit your pdf template you will also have layers designated for each part of the template.
5) Import your design elements and begin aligning with the template.
6) If any part of your design is meant to bleed outside of the cut-line make sure that it extends to the bleed line.
7) Once your design looks good save the pdf, return to the corresponding product page, select qty and any other specifications you would like and add to cart.
8) Open your shopping cart to view your order. If everything looks good hit the check out button, upload your artwork and follow the check out process.
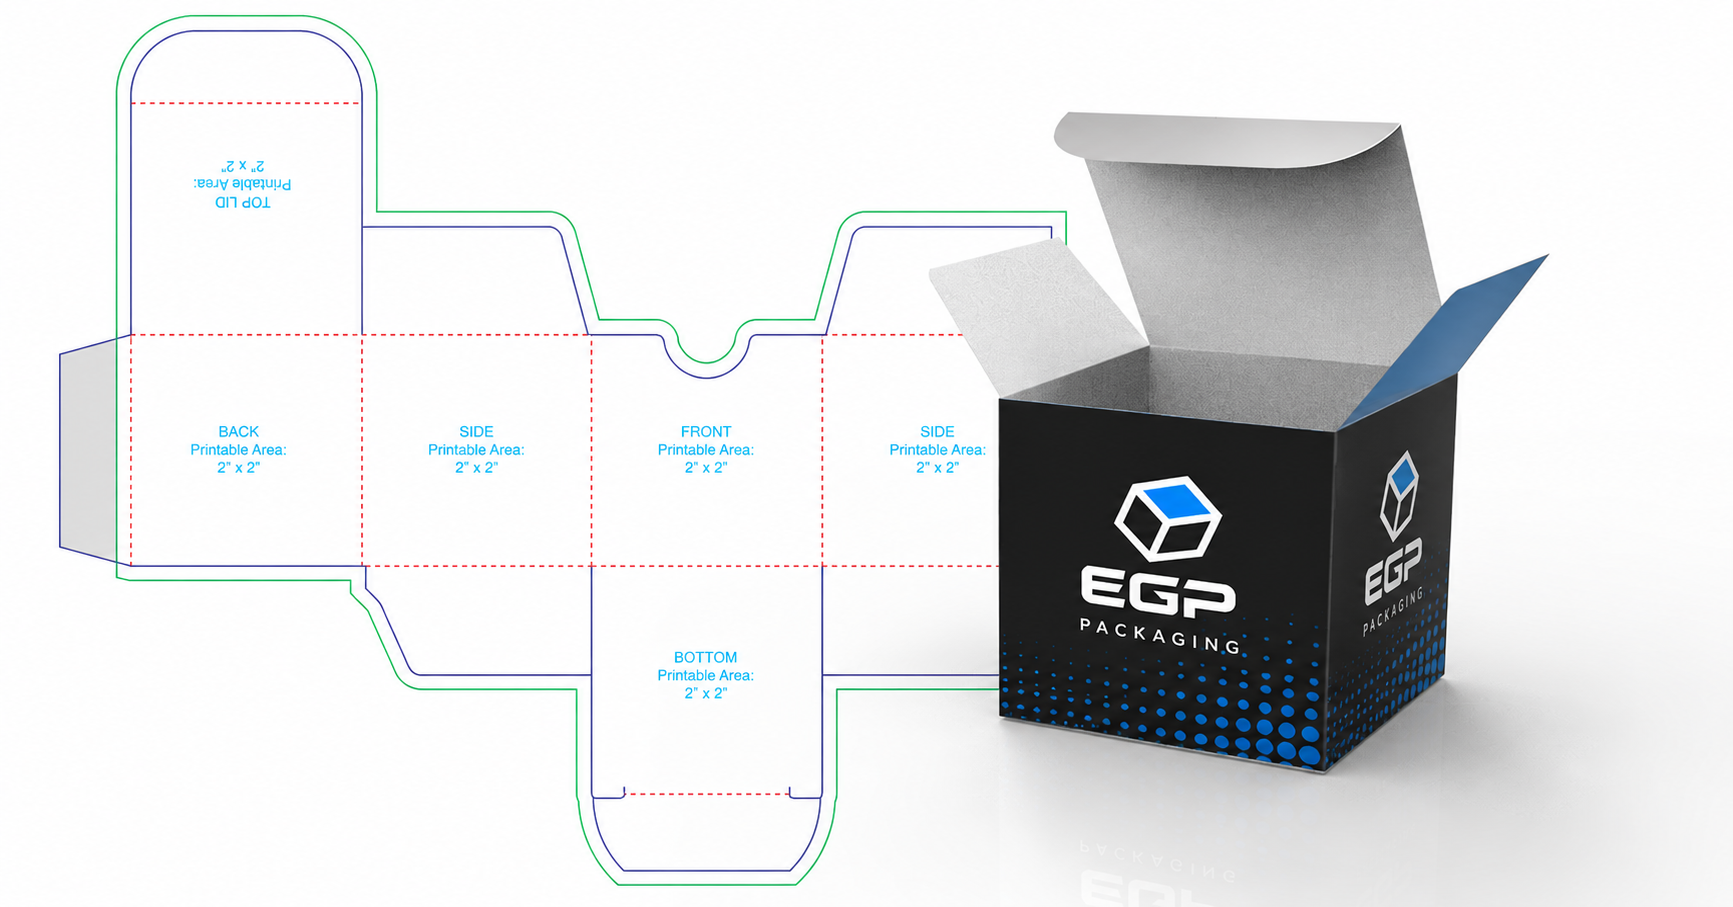
Use this step-by-step guide to lay out your custom 2x2x2 tuck box using EGP Packaging’s downloadable template. Following these instructions before uploading your artwork helps ensure your file is ready for print with no revisions needed.
1) Locate the 2x2x2 Tuck Box product page and download the template. 2) Unzip and open the pdf file in your editing software. (we are using Adobe Illustrator)
3) Each EGP Packaging template has a Legend which describes the different guide lines.
4) If using Illustrator to edit your pdf template you will also have layers designated for each part of the template.
5) Import your design elements and begin aligning with the template.
6) If any part of your design is meant to bleed outside of the cut-line make sure that it extends to the bleed line.
7) Once your design looks good save the pdf, return to the corresponding product page, select qty and any other specifications you would like and add to cart.
8) Open your shopping cart to view your order. If everything looks good hit the check out button, upload your artwork and follow the check out process.