

Posted on

Custom Boxes vs. Stock Packaging: Which Is Right for Your Small Business?
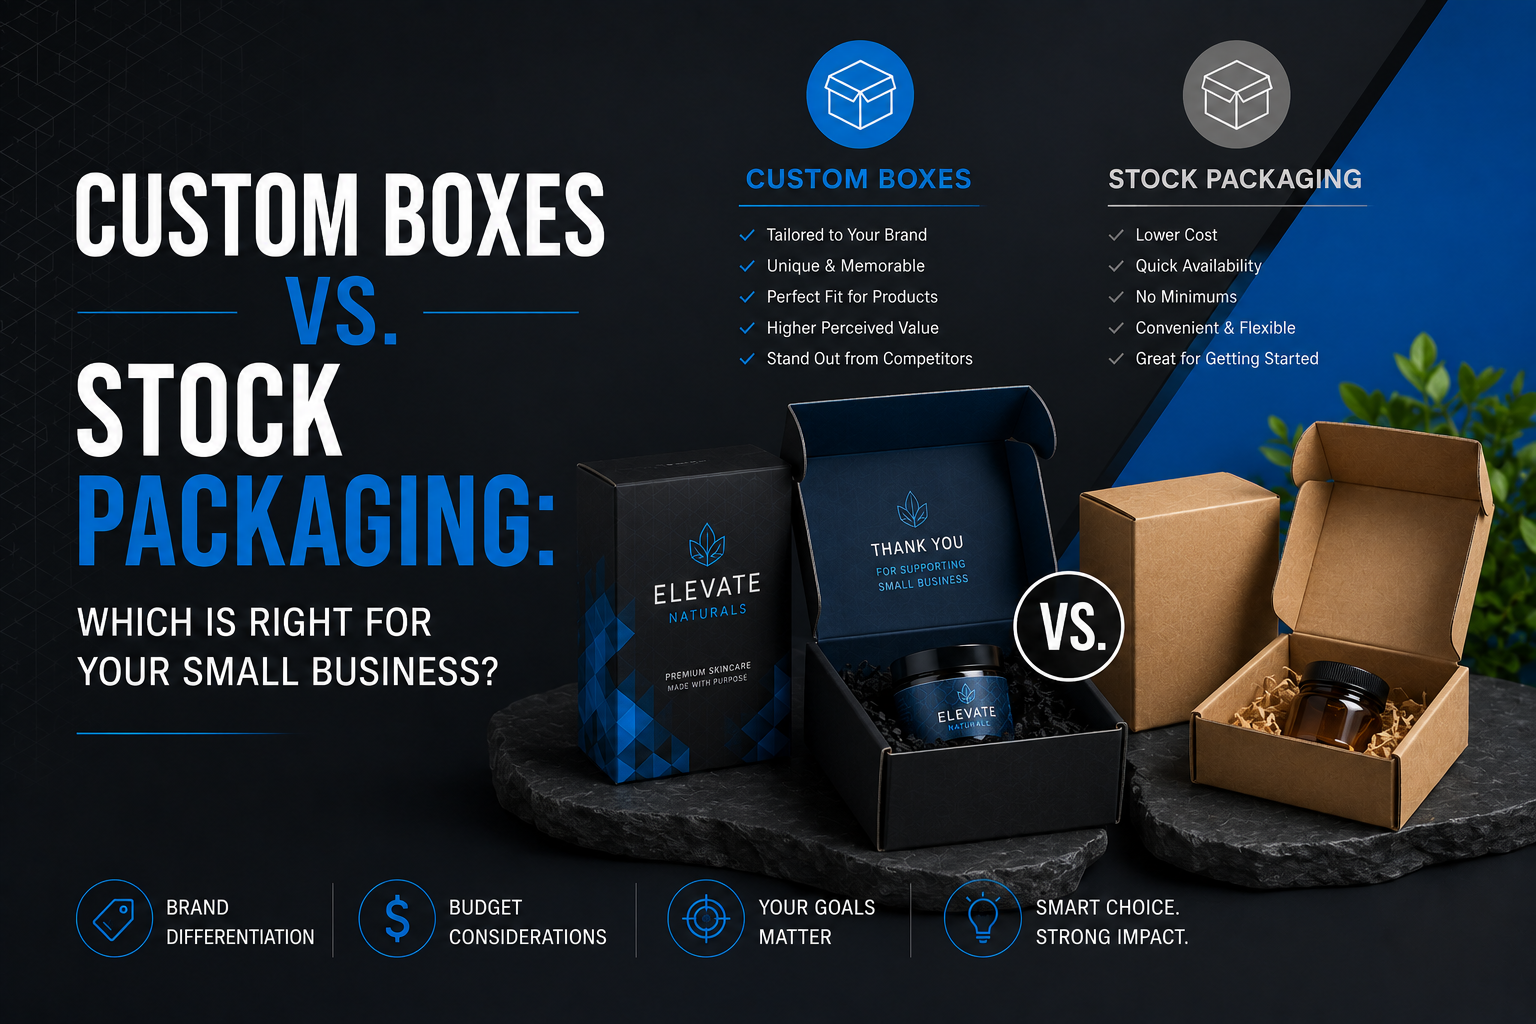
EGP-Custom-Boxes-vs-Stock-Packaging

Introduction

Every growing brand eventually asks the same question: is it time to move from stock packaging to fully custom boxes? The honest answer depends on your order volume, budget, and how much your packaging is currently doing (or not doing) for your brand.

1. Cost: Minimum Order Quantities and Per-Unit Pricing

Custom printed boxes typically carry a minimum order quantity, and per-unit cost drops as volume increases. Stock packaging has no such minimum and a lower unit cost at small volumes, which makes it the more practical starting point for many new brands.

2. Branding Impact: Blank Box vs. Branded Box

A branded, well-designed box turns your shipment or shelf presence into free marketing and a stronger unboxing experience. A blank or generic stock box does its job functionally but does nothing to build brand recognition.

3. Lead Time: Stock Ships Faster, Custom Takes Planning

Stock packaging is typically available immediately, while custom printed packaging requires production lead time. If you are testing a new product or working through your first sales cycle, that timing difference matters.

4. Fit: Reducing Void Fill and Damage

A box sized specifically to your product reduces the void fill needed to prevent shifting in transit, which can lower shipping cost and damage rates compared to a generic stock size that does not quite fit.

5. Flexibility: Testing Before You Commit

Stock packaging is a reasonable way to test a new product or sales channel before committing to a custom order and its minimum quantity. Many brands start on stock packaging and move to custom once volume and product-market fit are established.

A Middle Ground: Custom Labels on Stock Boxes

If a full custom box is not the right move yet, a custom printed label or sticker applied to a stock box or container is a lower-cost way to get real branding on your packaging without committing to a custom box run.

Final Thoughts

There is no universal right answer between custom and stock, only the one that fits your current volume and budget. If you are not sure which side of that line you are on, tell us your rough order volume and we can walk you through the real cost comparison.

We hope that you enjoyed this article on choosing between custom boxes and stock packaging. If you did and are hungry for more then be sure to check our Branding Help articles as we try to provide new helpful content each week. Also be sure to follow us on Facebook and LinkedIn.

For full-service marketing, web design, and social media support, visit our marketing division at EGP Marketing
Posted on 3 Comments

Sustainable Packaging Trends 2026: What Small Brands Need to Know

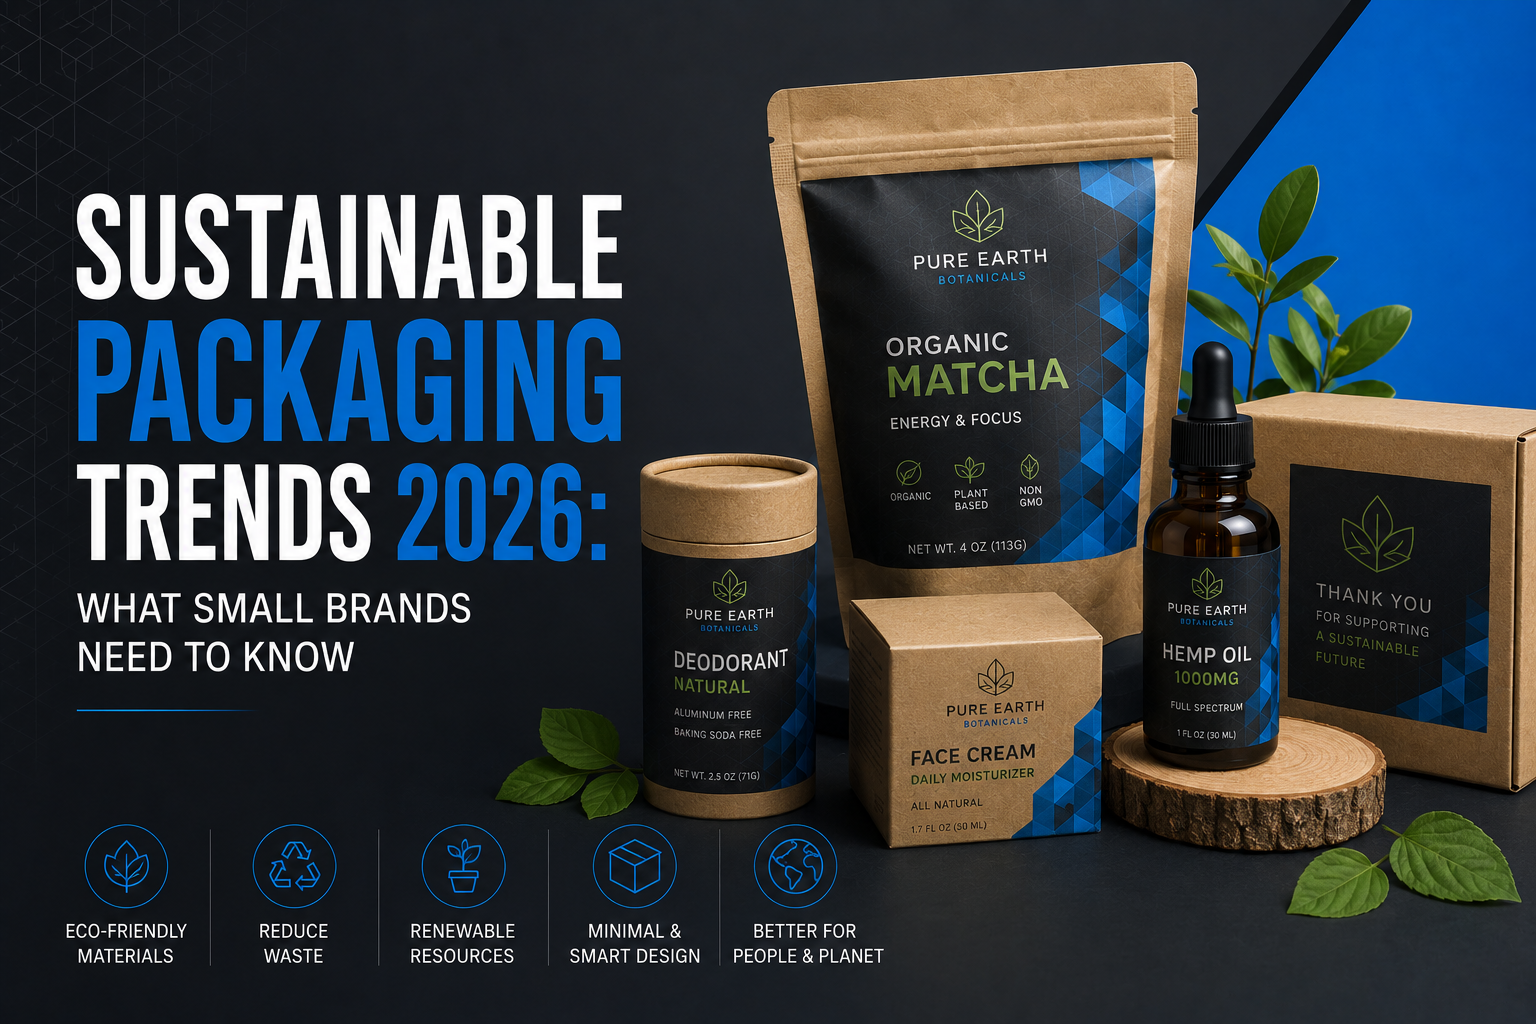
EGP-Sustainable-Packaging-Trends-2026

Introduction

Sustainable packaging has moved from a differentiator to an expectation. Shoppers are actively factoring environmental impact into buying decisions, and small brands do not need an enterprise budget to make meaningful, credible changes.

1. Consumers Are Actively Choosing Sustainable Brands

A growing majority of shoppers say they prefer brands that demonstrate real environmental responsibility, and packaging, being the most visible touchpoint of a purchase, is where that impression gets formed first.

2. Right-Sizing Is the Simplest Win

Before switching materials, look at whether your box or label is simply larger than it needs to be. Right-sizing packaging to your product reduces material use, shipping weight, and void fill, often with no design compromise at all.

3. Recyclable and Responsibly Sourced Materials

Choosing recyclable stocks and responsibly sourced paperboard is one of the more straightforward upgrades available, and it is a message that can be communicated clearly on-pack without overstating your case.

4. Soy-Based and Water-Based Inks

Ink choice is a smaller line item than most brands expect, and it is one of the easier sustainability upgrades to make on an existing design without touching the artwork itself.

5. Minimalist Design Reduces Material and Ink Use

Beyond the environmental story, minimalist layouts with fewer solid ink coverage areas genuinely use less material, and this aesthetic also happens to be trending well in 2026 across several categories.

6. Say What You Mean, Avoid Greenwashing

Vague claims like “eco-friendly” without specifics are increasingly viewed with skepticism. Be specific about what changed, recyclable material, reduced size, or a certified paper source, rather than relying on a general green color scheme to make the point.

Sustainable Does Not Mean Starting From Scratch

Most of these upgrades can be layered onto an existing design rather than requiring a full redesign. Bring us your current artwork and we can talk through which changes make sense for your budget and volume.

Final Thoughts

Sustainability in packaging is now a baseline expectation rather than a bonus. Small, credible changes, right-sized boxes, recyclable stock, better ink, communicated honestly, go further with today’s shoppers than a single big gesture.

We hope that you enjoyed this article on sustainable packaging trends for small brands. If you did and are hungry for more then be sure to check our Branding Help articles as we try to provide new helpful content each week. Also be sure to follow us on Facebook and LinkedIn.

For full-service marketing, web design, and social media support, visit our marketing division at EGP Marketing

Posted on

Health & Supplement Label Design: FDA Guidelines and Best Practices

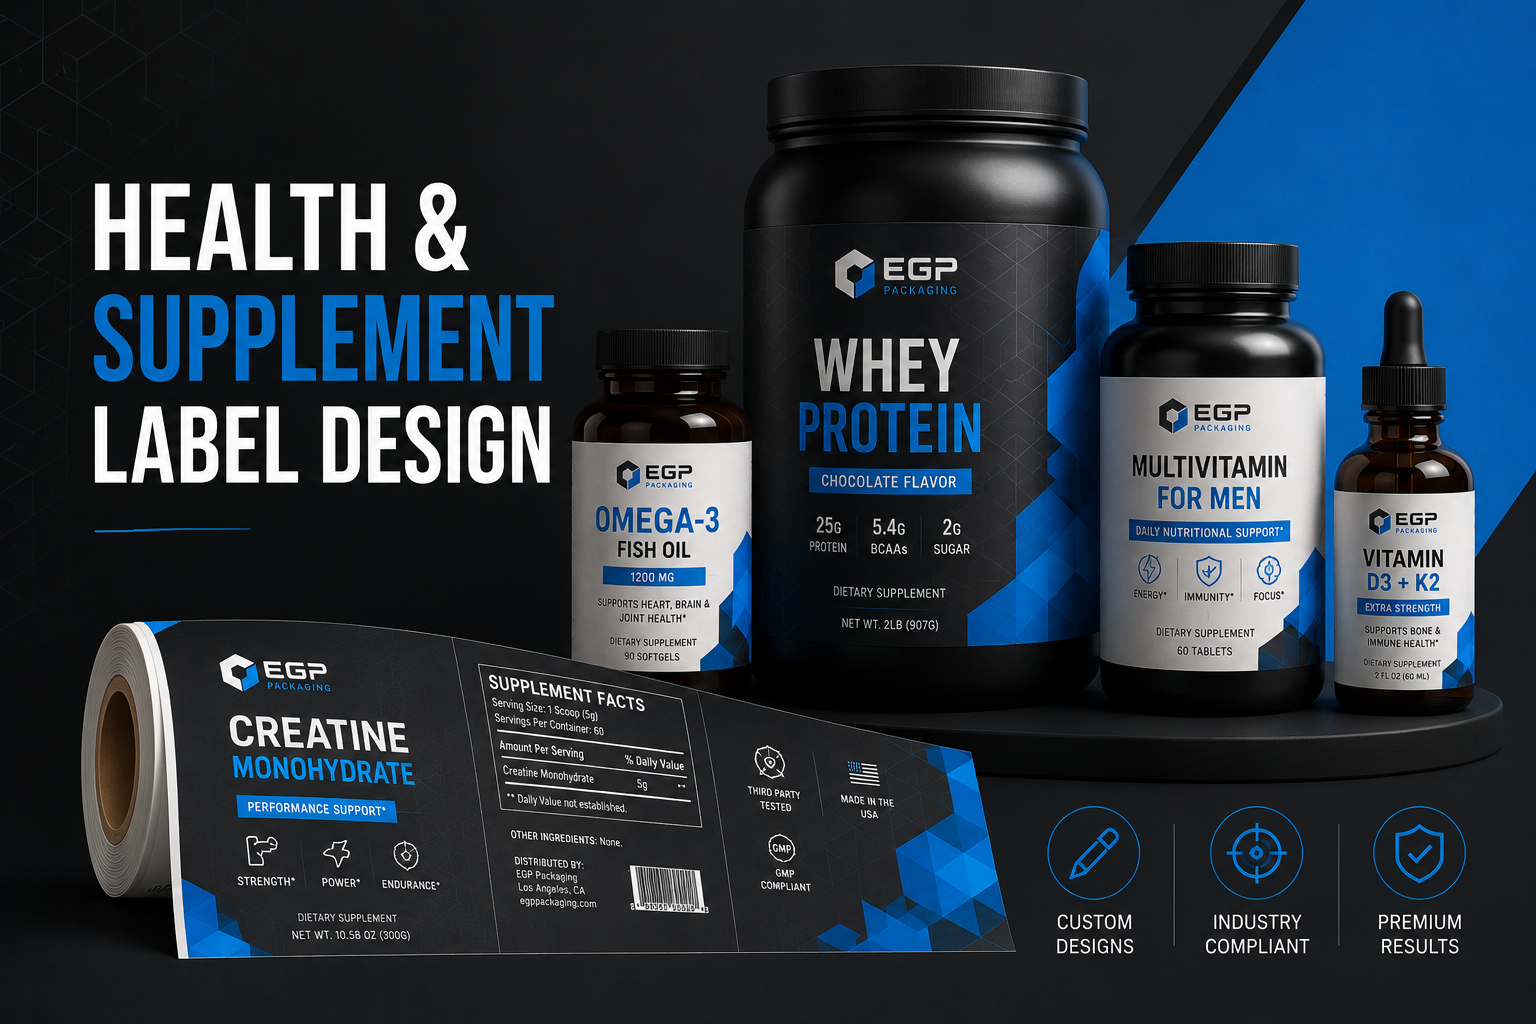
EGP-Health-and-Supplement-Label-Design

Introduction

Supplements and health products are sold on the promise of a benefit, which is exactly why label requirements in this category are strict. Getting the required panels right protects your business and, done well, actually builds more trust with skeptical buyers.

1. The Supplement Facts Panel

Dietary supplements use a standardized Supplement Facts panel, similar in spirit to a Nutrition Facts panel but formatted for ingredients, dosages, and daily value percentages specific to supplements.

2. Structure/Function Claims and the Required Disclaimer

Claims about how an ingredient supports a body function (for example, “supports immune health”) are allowed but generally require a specific disclaimer stating that the claim has not been evaluated by the FDA and that the product is not intended to diagnose, treat, cure, or prevent any disease.

3. Serving Size, Directions, and Warnings

Clear serving size and usage directions, along with any required warnings (for example around pregnancy, allergens, or interactions), should be prominent and easy to find, not buried in fine print.

4. Ingredient Sourcing and “Other Ingredients” Transparency

Beyond active ingredients, an “Other Ingredients” list covering fillers, binders, and capsule material is generally expected, and increasingly, buyers are checking it.

5. Design That Builds Trust in a Skeptical Category

Clean typography, a clearly organized Supplement Facts panel, and visible third-party testing badges (where applicable) do more for credibility in this category than bold health claims ever will.

We Can Design a Compliant Layout or Print Your Existing One

If your formulator or regulatory consultant has already provided approved label copy, we can move straight to design or production. If you need the panel built from your ingredient list, our design team can lay it out to standard formatting.

Packaging and labeling regulations change frequently and vary by state. This article is educational and general in nature, not legal advice. Always confirm current requirements with the relevant regulatory agency or your compliance counsel before finalizing artwork.

Final Thoughts

Supplement labeling rules are detailed and enforcement-focused. Confirm current FDA requirements and any state-specific rules for your product category before your label goes final.

We hope that you enjoyed this article on health and supplement label design. If you did and are hungry for more then be sure to check our Industry Packaging Guides articles as we try to provide new helpful content each week. Also be sure to follow us on Facebook and LinkedIn.

For full-service marketing, web design, and social media support, visit our marketing division at EGP Marketing
Posted on

Beauty & Cosmetics Packaging Design Trends That Sell in 2026

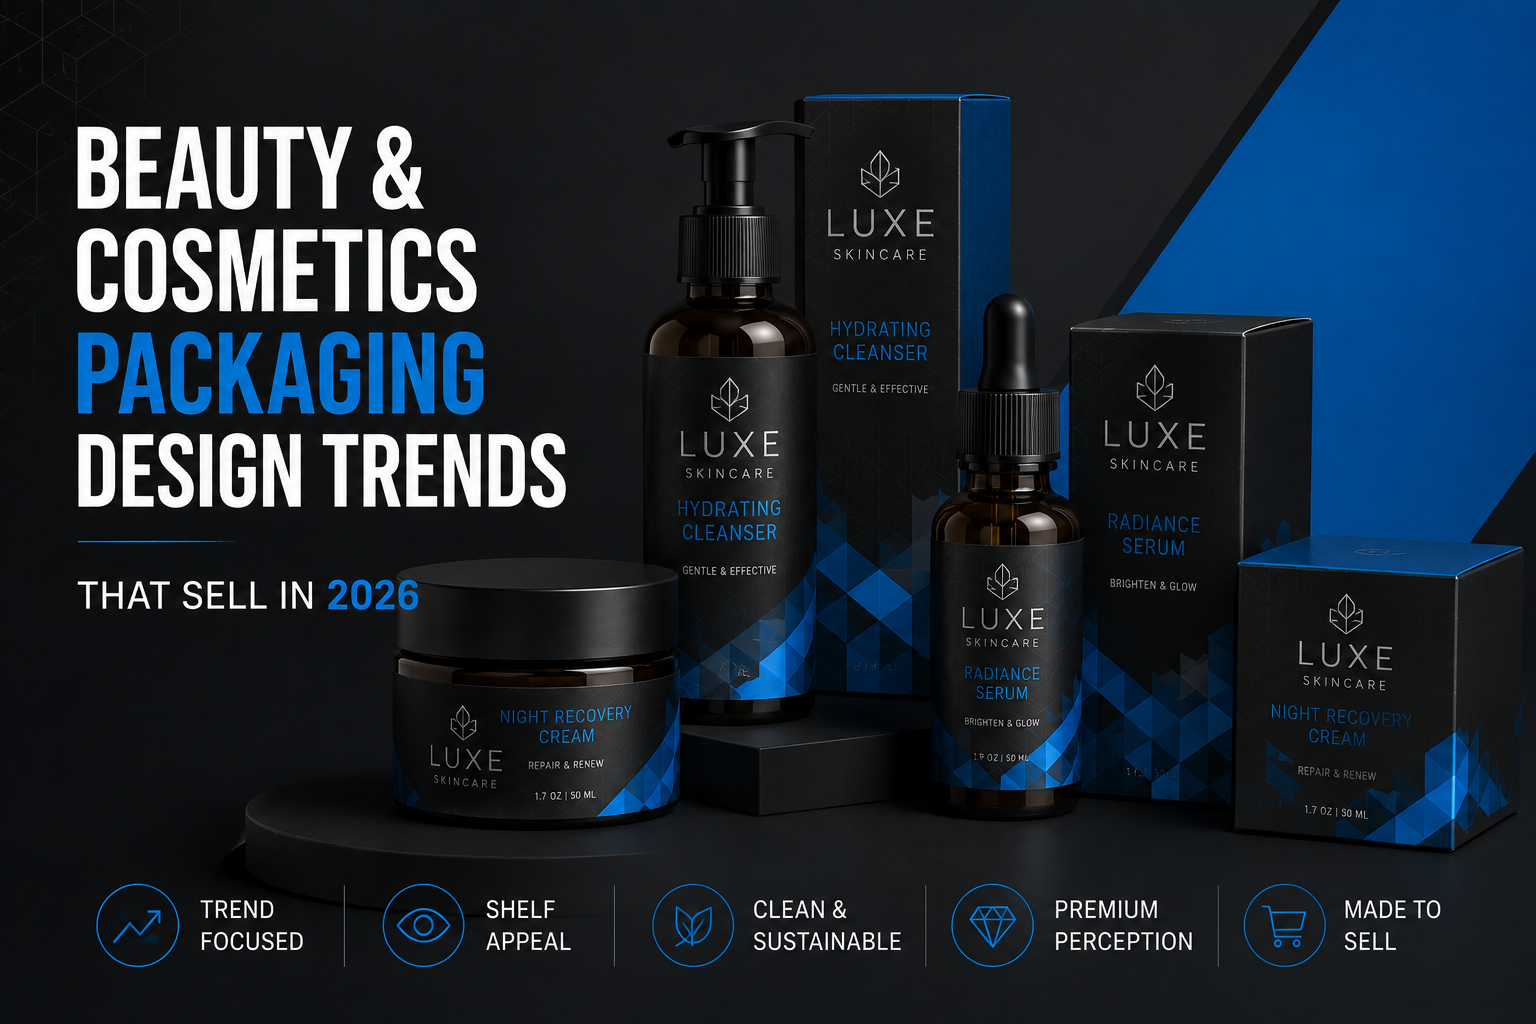
EGP-Beauty-and-Cosmetics-Packaging-Design-Trends-That-Sell-in-2026

Introduction

Beauty and skincare packaging sells on shelf appeal as much as any category we print for, but the brands that last also get the fundamentals right underneath the design. Here is what is trending in 2026, and what still needs to be on the label regardless of trend.

1. Minimalist, Ingredient-Forward Labels

Clean layouts that foreground a handful of hero ingredients continue to perform well, especially in skincare, where shoppers increasingly read the ingredient list before the marketing copy.

2. Refillable and Reduced-Waste Packaging

Refill pouches, concentrate formats, and reduced-plastic packaging are moving from niche to mainstream as both cost and sustainability pressures push brands toward less material per unit.

3. Tactile Finishes: Soft-Touch, Embossing, and Foil

Beauty is a tactile category, and finishes like soft-touch coatings, embossing, and foil stamping give a label or box a premium feel that a flat print cannot match, often for a modest cost increase.

4. Bold Color Returning Alongside Clean Beauty

The neutral, all-white “clean beauty” aesthetic is being joined by bolder color and typography choices as brands look to stand out in a category that has become visually crowded and, in places, homogenous.

5. Do Not Forget the Basics

Regardless of the trend you choose, cosmetics labels generally still need a full ingredient list in standard INCI naming, net weight, and manufacturer or distributor information. Trend-forward design and compliant copy are not in conflict, they just need to be planned together from the start.

Whether You Have a Design or Need One

If you already have a design direction and just need production-ready files and printing, we can take it from there. If you are starting from a blank page, our design team can build a label around both the current trends above and the required ingredient and net weight information.

Packaging and labeling regulations change frequently and vary by state. This article is educational and general in nature, not legal advice. Always confirm current requirements with the relevant regulatory agency or your compliance counsel before finalizing artwork.

Final Thoughts

Beauty packaging trends will keep shifting, but ingredient transparency and required disclosures are not going anywhere. Build your design around both, and it will hold up past this year’s trend cycle.

We hope that you enjoyed this article on beauty and cosmetics packaging design trends. If you did and are hungry for more then be sure to check our Industry Packaging Guides articles as we try to provide new helpful content each week. Also be sure to follow us on Facebook and LinkedIn.

For full-service marketing, web design, and social media support, visit our marketing division at EGP Marketing
Posted on

Food Product Labeling Requirements: What Every Small Food Brand Should Know

EGP-Food Product-Labeling-Requirements

Introduction

Packaged food carries some of the most standardized labeling requirements of any product category, which is actually good news. Once you understand the required elements, building a compliant, attractive label becomes a matter of good layout rather than guesswork.

1. The Nutrition Facts Panel

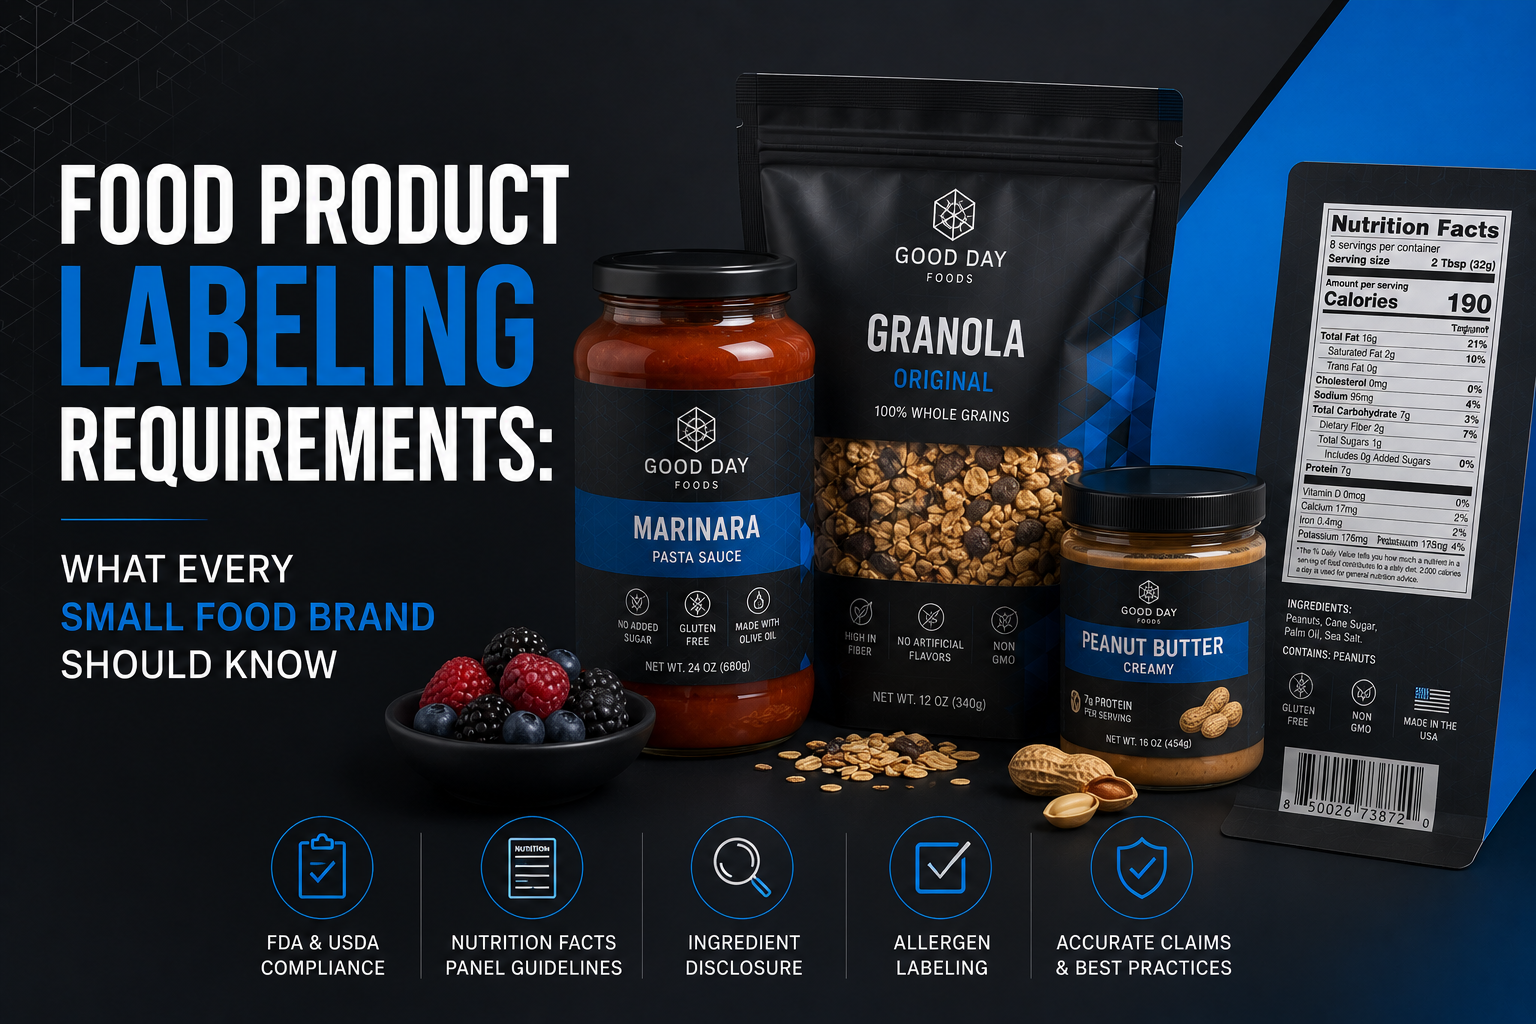
Most packaged foods sold at retail require a standardized Nutrition Facts panel showing serving size, calories, and required nutrients in a specific format and order. The format is strict, but that also makes it one of the more straightforward panels to build correctly.

2. Ingredient List Order and Allergen Declarations

Ingredients are listed in descending order by weight, and major allergens (like milk, eggs, tree nuts, peanuts, wheat, soy, fish, shellfish, and sesame) need to be clearly declared, typically in a “Contains” statement beneath the ingredient list.

3. Net Weight and Business Information

Labels need to state the net quantity of contents and identify the manufacturer, packer, or distributor with a name and address, so the product can be traced back to a responsible business.

4. Front-of-Package Claims

Terms like “natural,” “organic,” or “non-GMO” each carry their own rules and, in some cases, certification requirements before they can appear on packaging. Check the specific requirement behind a claim before designing it prominently onto your front panel.

5. Barcode and Batch or Lot Coding

A scannable barcode is close to a retail requirement rather than a legal one, and batch or lot coding helps with recalls and inventory tracking as your production scales.

6. Design That Sells on a Crowded Shelf

Once the required panels are accounted for, the rest of the label is where your brand gets to compete visually. Leading with a clear product name, appetite appeal, and a distinct color story matters as much as the compliance copy underneath it.

From Compliant Layout to Finished Label

We can build your Nutrition Facts panel and required copy into a layout from scratch, or take a panel your co-packer or consultant has already generated and design or print around it.

Packaging and labeling regulations change frequently and vary by state. This article is educational and general in nature, not legal advice. Always confirm current requirements with the relevant regulatory agency or your compliance counsel before finalizing artwork.

Final Thoughts

Food labeling requirements are detailed but well documented. Confirm current federal and state requirements for your specific product with the FDA, USDA, or your state health department before finalizing your label copy.

We hope that you enjoyed this article on food product labeling requirements. If you did and are hungry for more then be sure to check our Industry Packaging Guides articles as we try to provide new helpful content each week. Also be sure to follow us on Facebook and LinkedIn.

For full-service marketing, web design, and social media support, visit our marketing division at EGP Marketing
Posted on

CBD Packaging Compliance in 2026: Labels, Laws & Design Best Practices

EGP-CBD-Packaging-Compliance-in-2026

Introduction

CBD occupies a strange middle ground: derived from hemp, legal in most states, but still subject to close scrutiny on what a label can say and show. Getting the design right matters as much as getting the compliance right, since this is a crowded, trust-driven category.

1. Know the Difference Between Cannabis and CBD Labeling Rules

CBD products derived from hemp are generally regulated differently than THC cannabis products, but rules vary by state and by whether the product is ingestible, topical, or a supplement. Do not assume your cannabis packaging template automatically satisfies CBD requirements, or the reverse.

2. Disclose CBD Content Clearly

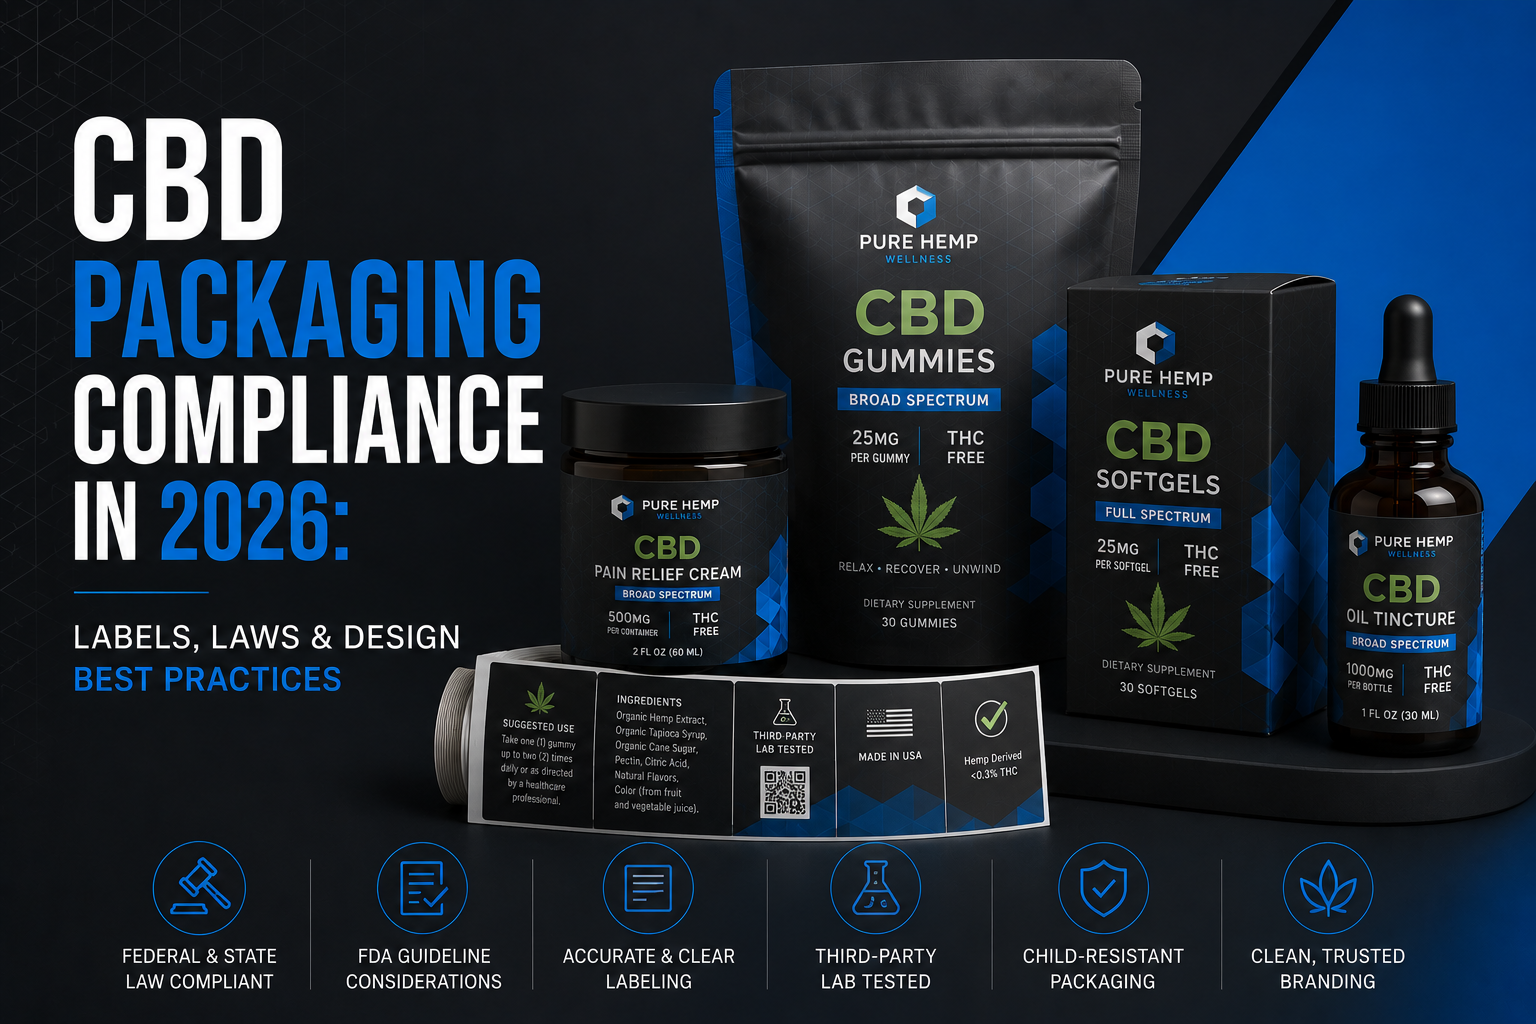
Labels should clearly state milligrams of CBD per serving and per container, along with total product volume or weight. Vague terms like “CBD infused” without a milligram count are increasingly viewed as insufficient.

3. Avoid Unapproved Health Claims

Claims that a product treats, cures, or prevents a disease are heavily restricted and can create real regulatory risk. Stick to general wellness language and let your design communicate quality through materials and finish rather than claims copy.

4. Link to a Certificate of Analysis With a QR Code

Third-party lab testing (a COA) is quickly becoming an expectation rather than a nice-to-have. A QR code linking to your current COA is a simple design addition that builds real trust with buyers who are label-checking before purchase.

5. Include Manufacturer Information and Batch Numbers

As with most regulated categories, batch or lot numbers and manufacturer contact information should be included so products can be traced and recalled if ever necessary.

6. Design That Builds Trust in a Skeptical Category

Because CBD sits in a gray area for many consumers, clean typography, clear dosage information, and a professional finish do a lot of work in signaling legitimacy on shelf or online.

Design It or Print It, We Do Both

Whether you need a full label design built around your COA and dosage information, or you already have artwork approved and just need it printed, we handle both under one roof.

Packaging and labeling regulations change frequently and vary by state. This article is educational and general in nature, not legal advice. Always confirm current requirements with the relevant regulatory agency or your compliance counsel before finalizing artwork.

Final Thoughts

CBD labeling sits at the intersection of FDA guidance, state law, and retailer requirements, and all three shift over time. Use this as a starting point, and confirm current requirements for your specific product type before finalizing your label.

We hope that you enjoyed this article on CBD packaging and label compliance. If you did and are hungry for more then be sure to check our Industry Packaging Guides articles as we try to provide new helpful content each week. Also be sure to follow us on Facebook and LinkedIn.

For full-service marketing, web design, and social media support, visit our marketing division at EGP Marketing
Posted on 3 Comments

California Cannabis Packaging & Labeling Requirements: A 2026 Compliance Guide

EGP-California-Cannabis-Packaging-and-Labeling Requirements

Introduction

Cannabis packaging carries more regulatory weight than almost any other product category we print for. Beyond looking good on a shelf, it has to meet child-resistant, labeling, and disclosure rules set by the state before it can legally go to market. Here is a general overview of what California requires, and where our design and print services fit in.

1. Child-Resistant and Resealable Packaging

Cannabis goods sold at retail in California generally must leave the store in packaging that is both child-resistant and, for products intended for multiple uses, resealable in a way that maintains that child-resistance after opening.

2. The Universal Cannabis Symbol and THC Warning

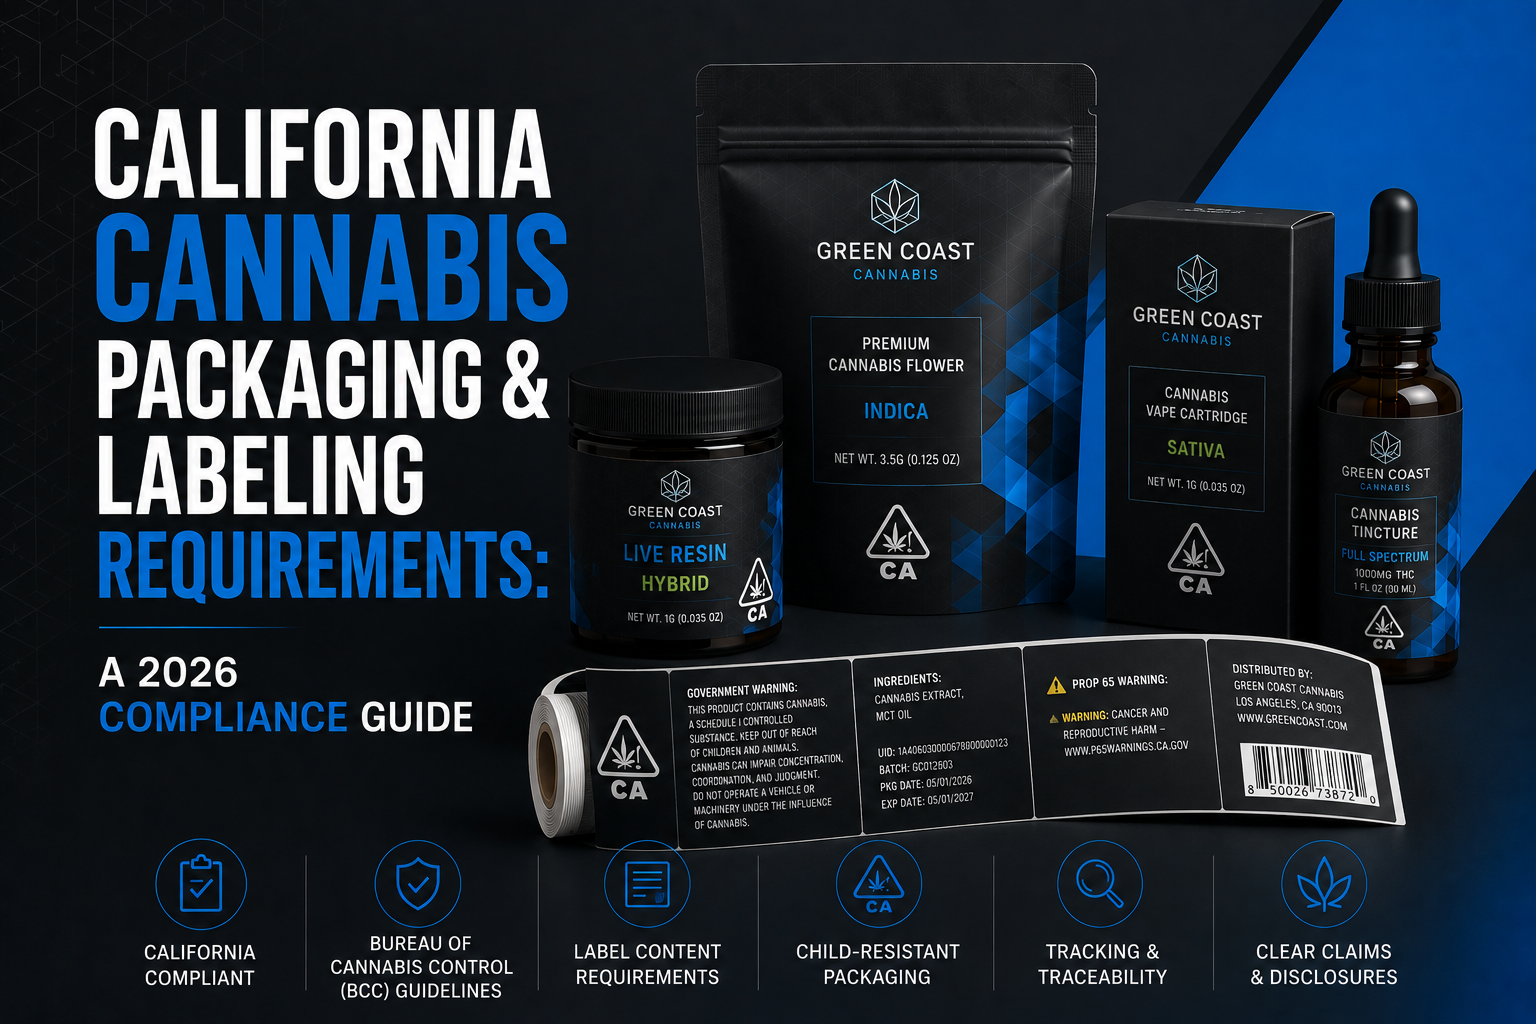
California requires the state-designated universal cannabis symbol on packaging and labels, along with clear THC content warnings. Placement, size, and contrast requirements are specific, which is why we build these elements directly into the template rather than adding them as an afterthought.

3. Accurate Potency and Ingredient Labeling

THC and CBD content must be listed in milligrams per package and, for edibles and multi-serving products, per serving, along with a full ingredient list. This information typically comes from your product’s certificate of analysis (COA) and needs to match your lab results exactly.

4. Batch, Lot, and Manufacturer Information

Labels generally need to include a batch or lot number, manufacture date, and licensed manufacturer information, allowing products to be traced back through the supply chain if needed.

5. Design That Does Not Appeal to Minors

California restricts imagery, cartoons, and language that could be considered attractive to children on cannabis packaging. This is one of the more subjective rules, and it is worth a second set of eyes before you finalize artwork.

6. Sustainability Is Increasingly Part of the Conversation

While not always a hard requirement, more cannabis brands are moving toward recyclable and reduced-plastic packaging as both consumers and regulators pay closer attention to environmental impact.

We Can Design Compliant Packaging or Print Your Approved Artwork

If you already have compliance-approved artwork, our print team can take it straight to production on any of our cannabis box or label formats. If you are starting from scratch, our design team builds the required elements in from the first draft so you are not retrofitting compliance language later.

Packaging and labeling regulations change frequently and vary by state. This article is educational and general in nature, not legal advice. Always confirm current requirements with the relevant regulatory agency or your compliance counsel before finalizing artwork.

Final Thoughts

Cannabis packaging compliance is detailed and state-specific, and requirements are updated regularly. Treat this as a starting checklist, not a final word, and verify current rules with the California Department of Cannabis Control or your compliance advisor before your product goes to market.

We hope that you enjoyed this article on California cannabis packaging and labeling compliance. If you did and are hungry for more then be sure to check our Industry Packaging Guides articles as we try to provide new helpful content each week. Also be sure to follow us on Facebook and LinkedIn.

For full-service marketing, web design, and social media support, visit our marketing division at EGP Marketing
Posted on

Print-Ready File Checklist: Bleed, Resolution & Color Mode Explained

EGP-Print-Ready-File-Checklist

Introduction

Whether you designed your own packaging or hired a freelancer, a file that looks perfect on your screen is not always ready for press. Print-ready simply means a file is built to the exact specifications a printer needs to reproduce it accurately, without surprise revisions. Here is what we check on every file before it goes to print.

1. Use CMYK, Not RGB

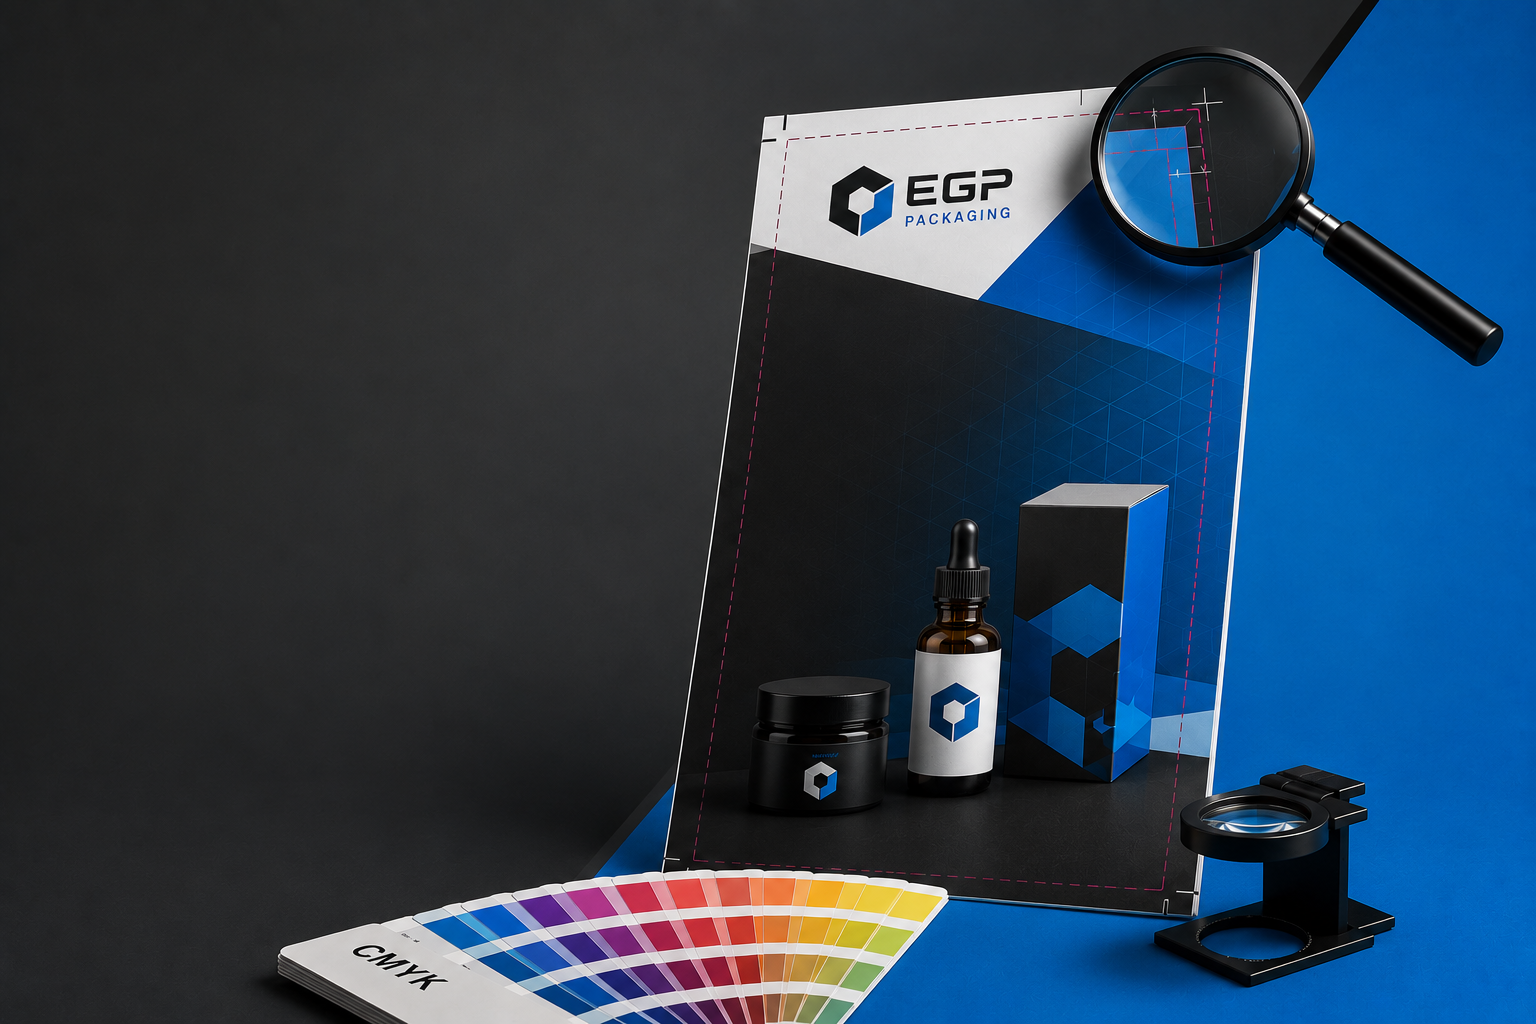
Screens display color using red, green, and blue light, while presses print using cyan, magenta, yellow, and black ink. A file built in RGB will shift color, sometimes significantly, once printed. Always build or convert your file to CMYK before submitting it.

2. Build In Bleed and Keep Text Inside the Safety Margin

Bleed is extra artwork extending past the trim line so that cutting slightly off-register does not leave a white edge. Safety margin is the reverse, keeping important text and logos a safe distance inside the trim line so nothing gets cut off. Most of our templates already include both, marked clearly.

3. Convert Fonts to Outlines or Embed Them

If a font is not installed on the printer’s system and is not embedded or converted to outlines, it can be substituted automatically, changing your layout without warning. Converting text to outlines (in Illustrator, Create Outlines) removes this risk entirely.

4. Use High-Resolution Images (300 DPI Minimum)

Images pulled from a website or a phone camera are usually built for screens at 72 DPI, which print blurry or pixelated. Source images at 300 DPI at final print size to keep photos and logos sharp.

5. Flatten Transparency and Check Overprint Settings

Layered transparency effects and incorrect overprint settings can render differently in print than they appear in your design software. Flattening transparency before export helps ensure what you see is what prints.

6. Save in the Right File Format

A print-ready, high-resolution PDF with crop marks is the standard we ask for. It is a universal format that preserves fonts, color, and layout information more reliably than JPGs, PNGs, or native design files.

7. Double-Check Your Dieline Layer

If you are working from one of our templates, make sure the dieline, fold lines, and legend layer are set to non-printing or removed before final export, and that your artwork lines up with the template exactly as provided.

When in Doubt, Let Us Design It

If any of this sounds like more than you want to manage, that is exactly what our design service is for. We can build your file from scratch so every one of these boxes is already checked.

Final Thoughts

None of these checks are complicated on their own, but missing even one can delay your order or change how your packaging looks once printed. When you submit artwork to us, our prepress team reviews it against this exact list before anything goes to press.

We hope that you enjoyed this article on print-ready file preparation for packaging and labels. If you did and are hungry for more then be sure to check our Getting Started articles as we try to provide new helpful content each week. Also be sure to follow us on Facebook and LinkedIn.

For full-service marketing, web design, and social media support, visit our marketing division at EGP Marketing
Posted on

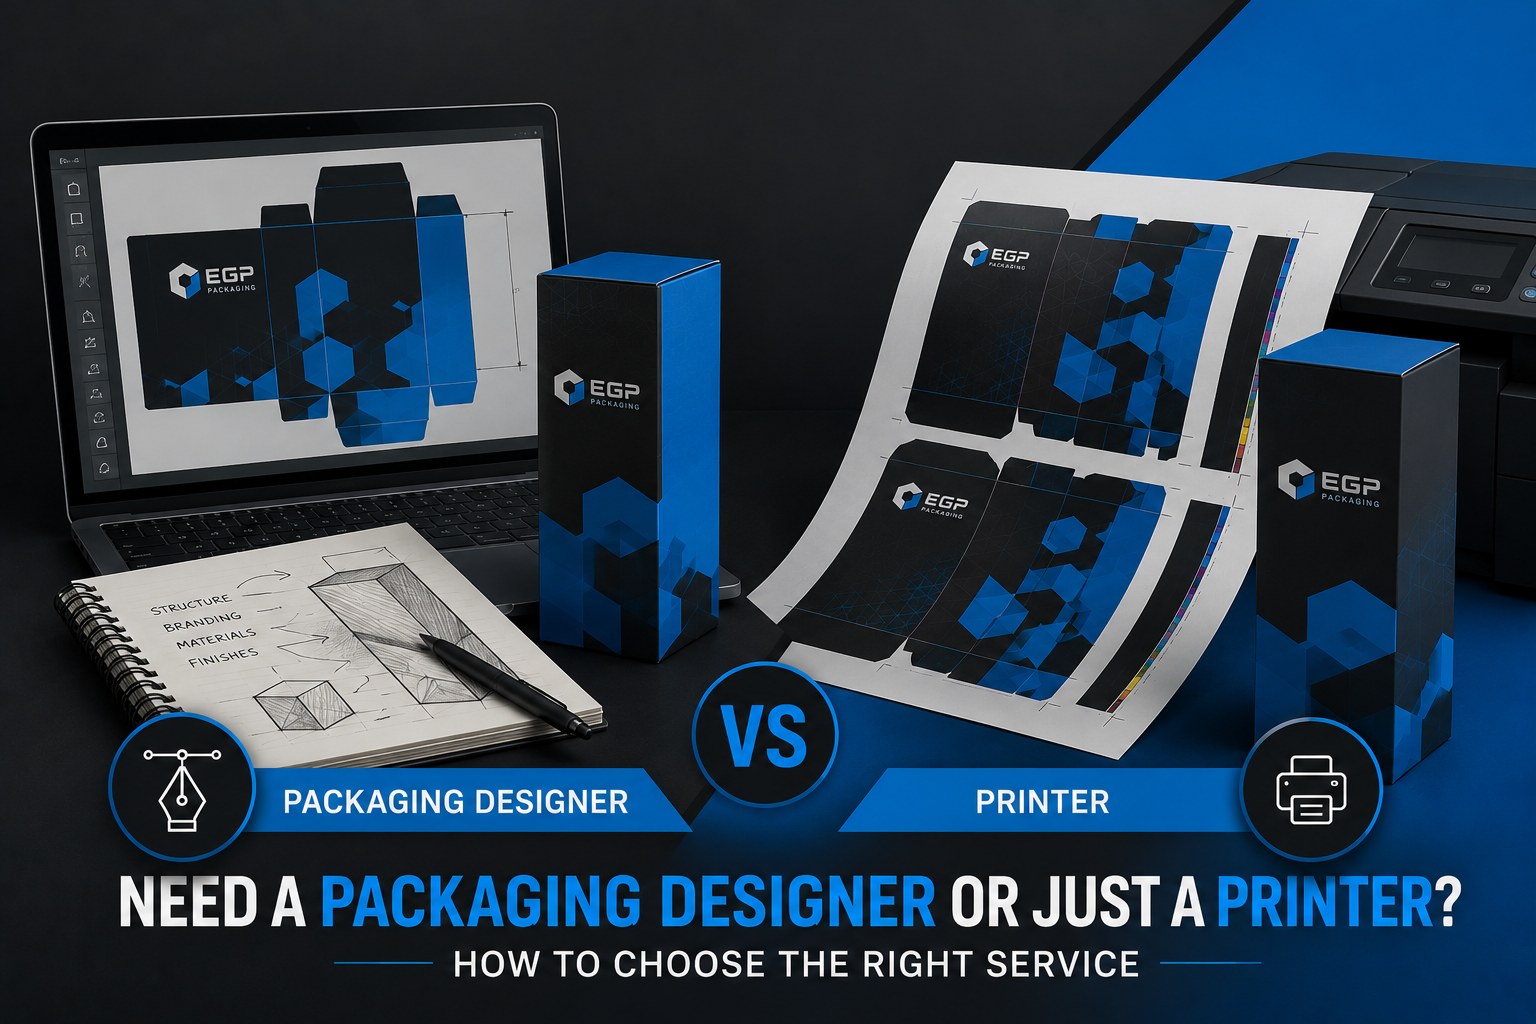
Need a Packaging Designer or Just a Printer? How to Choose the Right Service

EGP-Package-Designer-Services

Introduction

If you have never ordered custom packaging before, one of the first questions is whether you need a packaging designer, someone to build your box or label layout from scratch, or a printer, someone to take a file you (or your existing designer) already built and turn it into a finished product. At EGP Packaging we offer both services under one roof, and most small brands are not sure which one they actually need until they see the difference laid out. Here is how to tell.

1. You Have a Logo and Brand Colors, But No Packaging Layout

If your brand identity exists mostly as a logo file, a color palette, and maybe a style guide, you likely need design services rather than print-only production. Turning a logo into a functioning box or label layout involves dieline placement, typography hierarchy, required copy, and bleed and safety margins, none of which a logo file accounts for on its own.

2. You Already Have a Print-Ready File From a Designer

If a freelance designer, an in-house team, or an agency has already delivered a file built to a printer’s template, with bleed, correct color mode, and outlined fonts, you are likely looking for print-only production. Our team checks the file against our templates and moves straight to press, which is typically faster and less expensive than starting a design from scratch.

3. You Are Launching a New Product and Do Not Know Where to Start

New product launches are the most common reason brands come to us for full design work. Without an existing container, size, or shape decided, packaging design also involves choosing a box or label style, which is part of what our design service covers before a single pixel is placed.

4. Your Product Falls Under Industry Labeling Regulations

Cannabis, CBD, food, beauty, and health and supplement products all carry labeling requirements around disclosures, warnings, and required panels. If you are not confident your layout satisfies those requirements, our design team builds packaging with compliance in mind from the first draft, rather than trying to retrofit it later.

5. You Want to Refresh a Design Without Rebuilding It Completely

Sometimes a brand does not need a full redesign, just an update to colors, sizing, or a new SKU built off an existing template. This falls in a middle ground between our two services, and it is one of the most common requests we get.

How EGP Packaging Handles Both

Whichever category you fall into, the process starts the same way. Tell us what you have, a logo, an old design, a print-ready file, or nothing at all, and we will tell you exactly which service applies and what it costs before you commit to anything.

Final Thoughts

Design services and print-only production solve two different problems, and there is no wrong answer, only the one that matches where your brand is right now. If you are still not sure after reading this, that is a normal place to start. Give us a call and we will help you figure it out.

We hope that you enjoyed this article on choosing between packaging design services and print-ready production. If you did and are hungry for more then be sure to check our Getting Started articles as we try to provide new helpful content each week. Also be sure to follow us on Facebook and LinkedIn.

For full-service marketing, web design, and social media support, visit our marketing division at EGP Marketing
Posted on

5 X 3 X 1.75 FOLD UP BOX LAYOUT INSTRUCTIONS

EGP-FOLD-UP-POST-THUMBNAIL

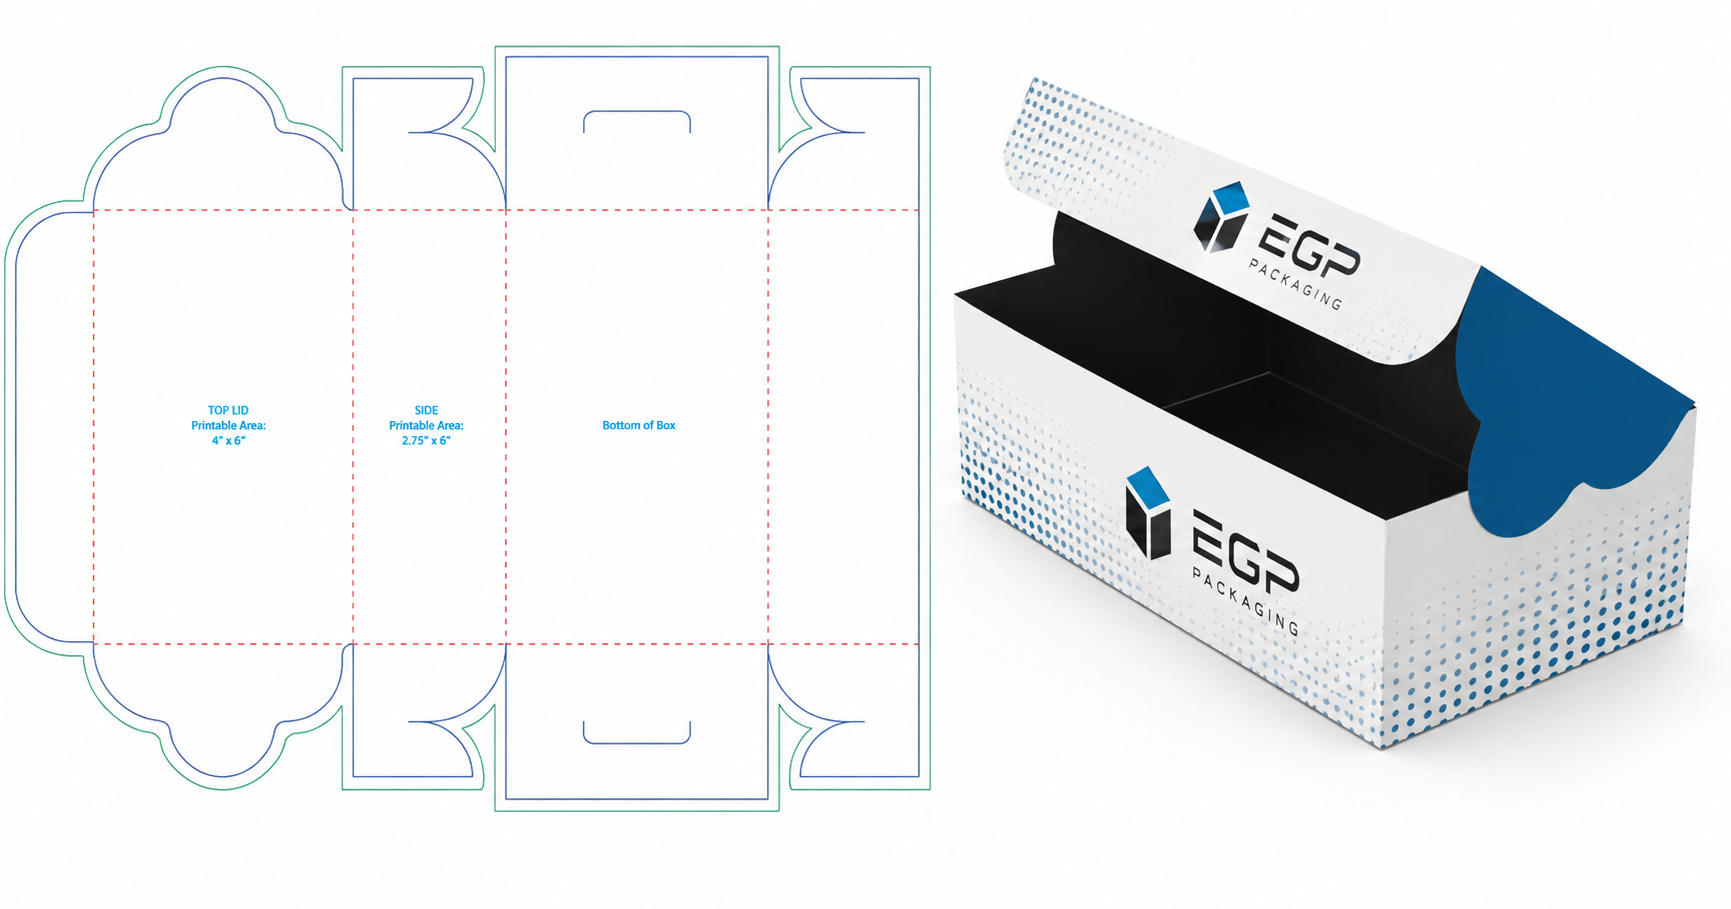
How to Set Up Your 5 x 3 x 1.75 Fold Up Box Artwork

Product Type: Custom Printed Fold Up Boxes

Ready to design your custom 5 x 3 x 1.75 Fold Up Box? The steps below walk you through preparing your artwork file using EGP Packaging’s downloadable template. Working through this guide before uploading ensures your file is formatted correctly and ready for press — no back-and-forth required.

1) Go to the 5 x 3 x 1.75 Fold Up Box product page and download the template file to start building your custom printed fold up box design.
2) Extract the zip archive and open the PDF template in your preferred design application — the examples in this guide reference Adobe Illustrator.

3) Your EGP Packaging template includes a color-coded Legend explaining what each line type represents. Review this before placing any artwork so you understand the safe zone, cut line, and bleed boundaries.

4) When working in Illustrator, the template file uses separate layers for each guide category. Use the Layers panel to toggle individual guides on or off as needed while building out your design.

5) Position your artwork elements within the template, keeping critical text and graphics inside the safe zone to ensure nothing gets trimmed during the finishing process.

6) Any artwork intended to run edge-to-edge must extend to the bleed line — stopping at the cut line will result in a white border on the finished box. Convert all text to outlines before saving.

7) Once your artwork is finalized, save the file as a PDF, return to the product page, select your quantity and any additional specs, and add to cart.

8) In your cart, confirm the order details and click checkout. You’ll be prompted to upload your completed 5 x 3 x 1.75 Fold Up Box artwork file and complete the order.

Why Choose Custom Printed Fold Up Boxes?

EGP Packaging’s custom printed fold up boxes deliver compact, shelf-ready packaging with full-surface print coverage. Designed to ship and store flat, these boxes assemble quickly without glue or tape — a practical advantage for brands managing their own fulfillment or shipping direct to consumers. Every box is printed in-house at our Santa Ana, CA facility for direct quality oversight and faster local turnaround.

For full-service marketing, web design, and social media support, visit our marketing division at EGP Marketing.